![]()
Carbon Fiber Hood
Project
(last update 06/15/06)
Now that the fiberglass part is ready we will need to prepare the hood for it.
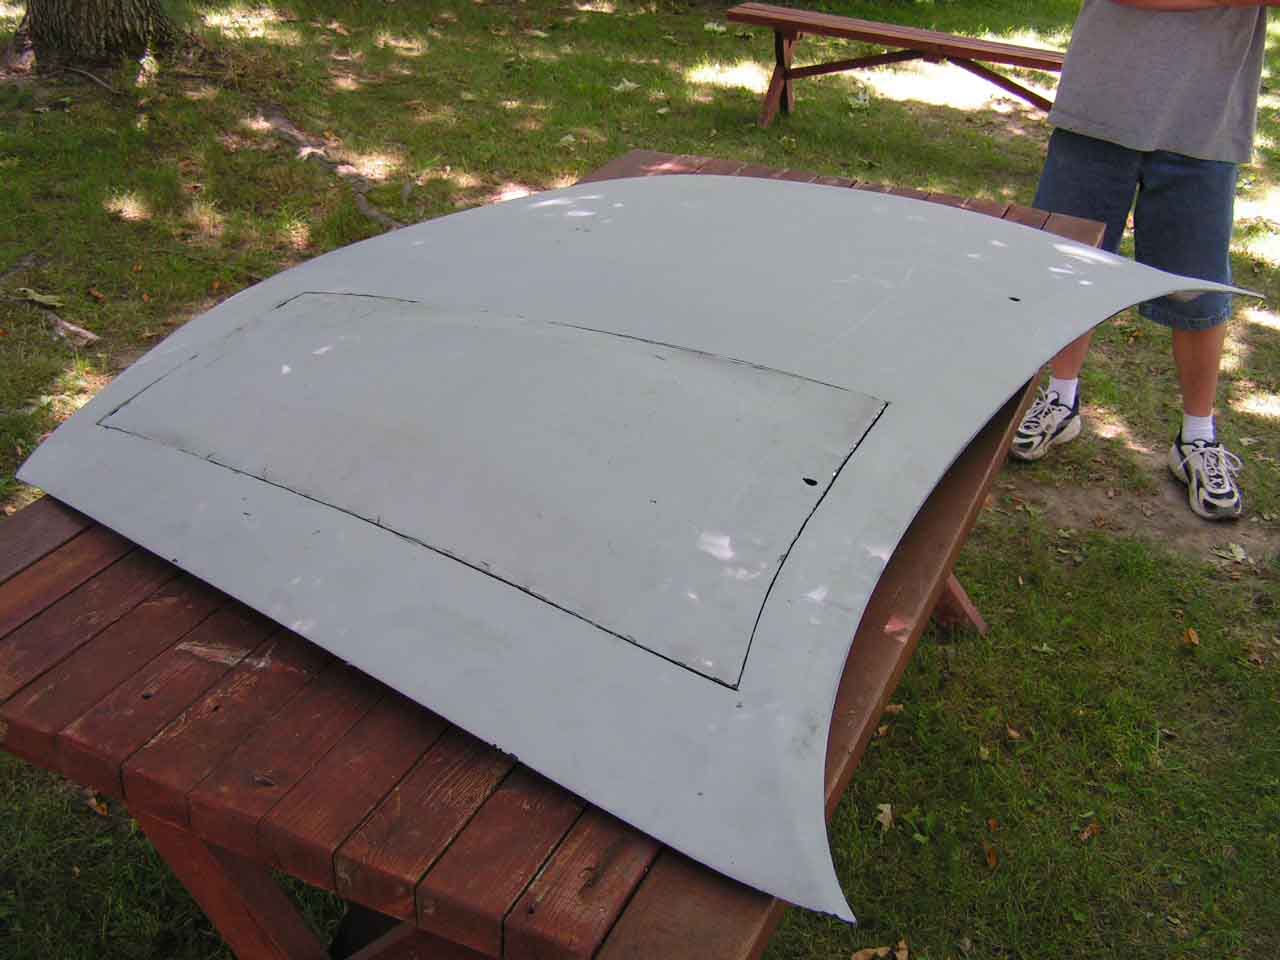
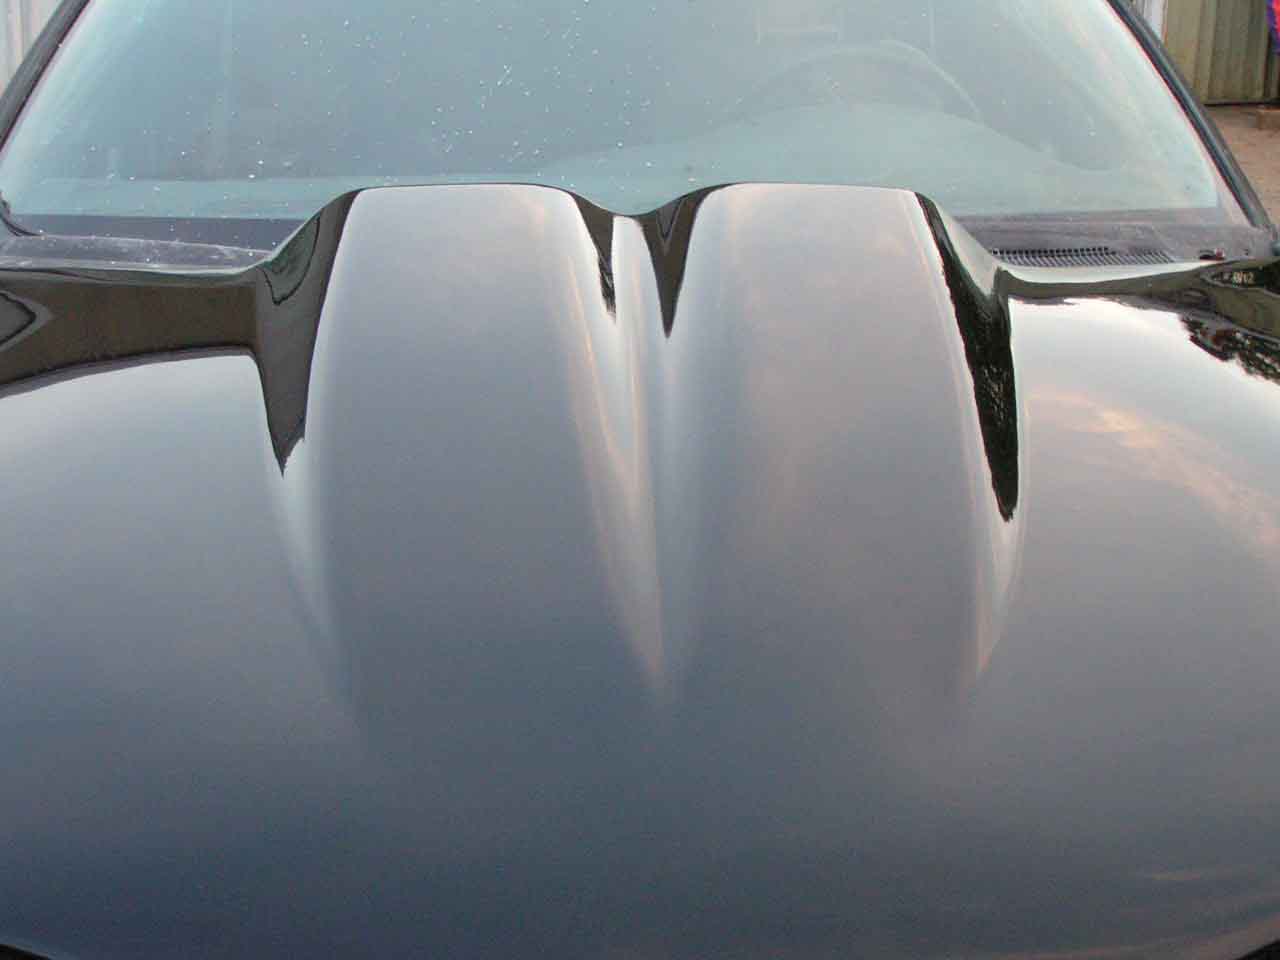
There is a bump on the hood that is typical on the Talon's and Eclipse's. I believe it is there for turbo clearance but since this car is not a turbo model there is no reason we need to have it. The scoop was designed without it being there so we will need to remove it and fill the hole with new material. The line represents what we will be removing.
Sorry
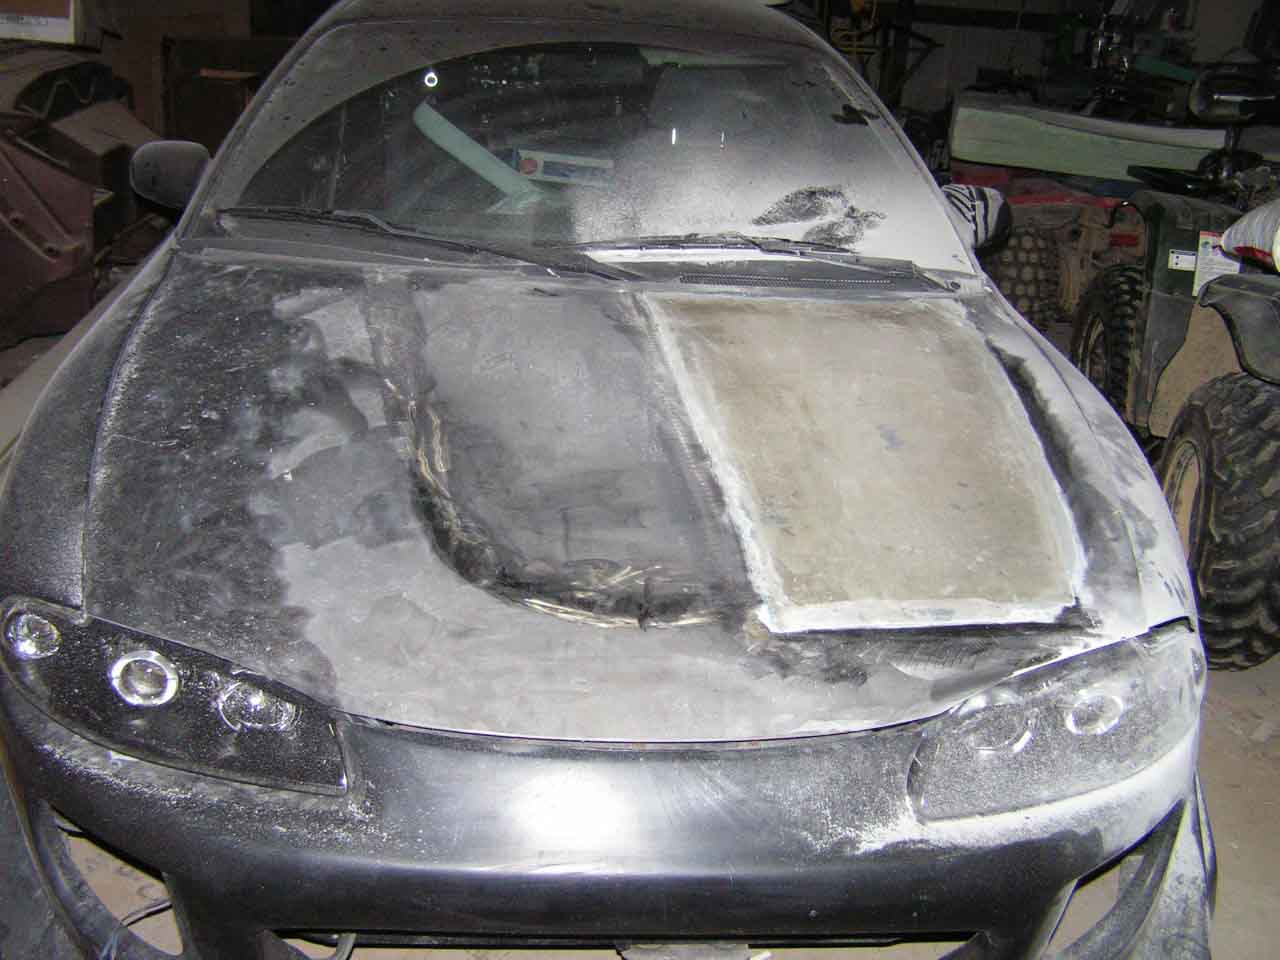
for the jump in the process but I forgot to take pictures. We cut the
hump and
bracing from the hood. We applied a wax and release agent to the
passenger side
of the hood. Using the 9 oz fabric and epoxy we laid up 2 layers on the
passenger
side of the hood making sure the material was large enough to cover the
opening.
Once it dried we removed it. At this point the skin has a slight
curvature to
it and is still flexible enough to bend and conform to the surface once
we glue
down the edges. We completely stripped the hood down to bare metal and
using a #40
grit disk we ground the edges around the opening, both sides if the
fiberglass
skin we had just made and where the scoop will sit. We placed the skin
over the
opening and trimmed it so we had a 1-1/2” overlap on all sides. Using a
two
part fiberglass panel adhesive we bonded the skin over the hole. After
it dried
I ground the edges to feather them out.
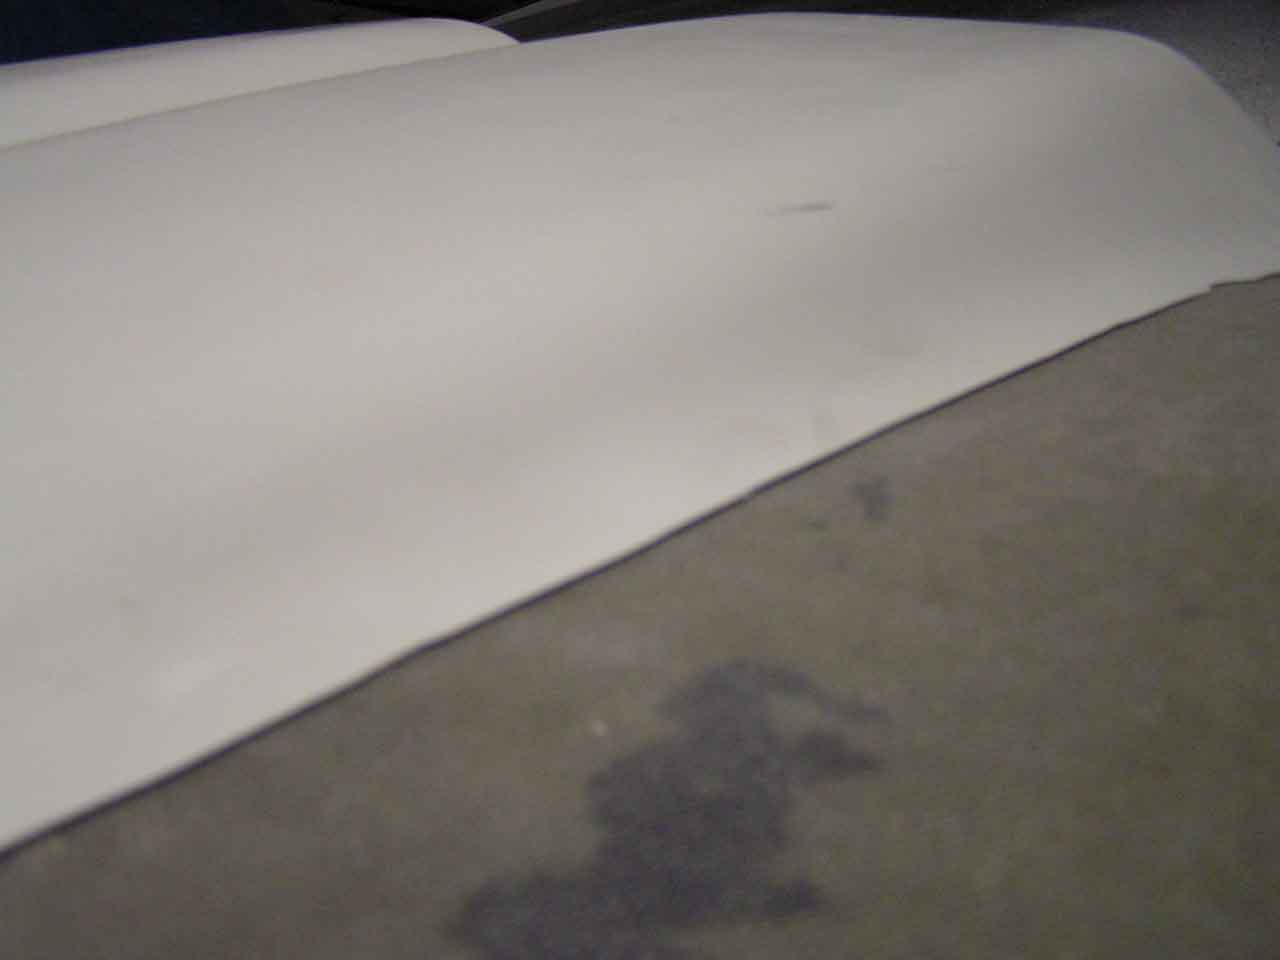
I
tool
this picture hoping to show how well the skin conformed to the hood.
The scoop
is just sitting on the hood and is not bonded. I’m pretty happy with
that fit!
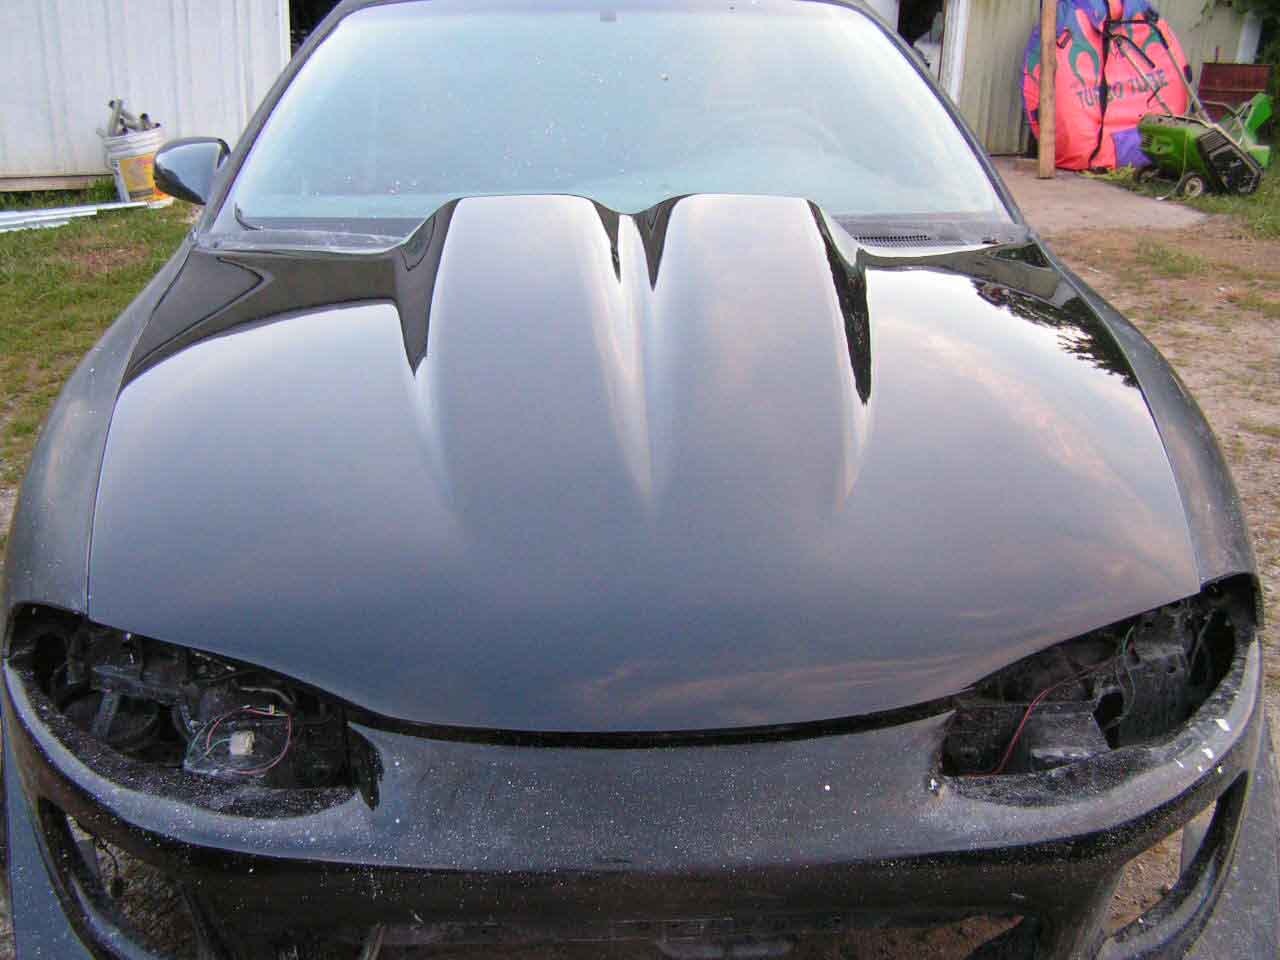
Well here it is bonded, painted, sanded
and buffed. Actually the whole car is now painted and we are in the
middle of sanding and buffing it.
Once we bonded the scoop to the hood we use some Kromate to transition the scoop to the hood and fill in the low spots especially in the area around the fiberglass panel we used to cover the hole we created by removing the raised area in the stock hood. Lots of sanding, priming, filling and sanding again was needed to get everything straight. Once I was happy with it I primed the surface with (2) coats of PPG’s DP90 epoxy primer (black). Within an hour I applied (3) coats of PPG’s MBC9300 Black paint. Then immediately followed that with (10) coats of PPG’s 161 clear waiting 10 minutes between coats. Two days later we sanded the entire hood with 1200 grit sand paper and machined buffed with buffing compound and a wool pad then fallowed by a polishing glaze with a foam pad and finally a Mirror Glaze #7 with another foam pad.
Smooth as glass! Next we will be making the mold for this.
![]()
Jerry and Nita's
home page / Family Matters
/ Ferret Antics
/ Our
Critters
Gone Hunting
/ Home Theater
/ Talon Project
![]()
![]()
You can reach us at: ferretantics@earthlink.net
![]()
This page was created and maintained by
Jerry
at
Sensible Design Solutions