![]()
Carbon Fiber Hood
Project
(last update 06/23/05)
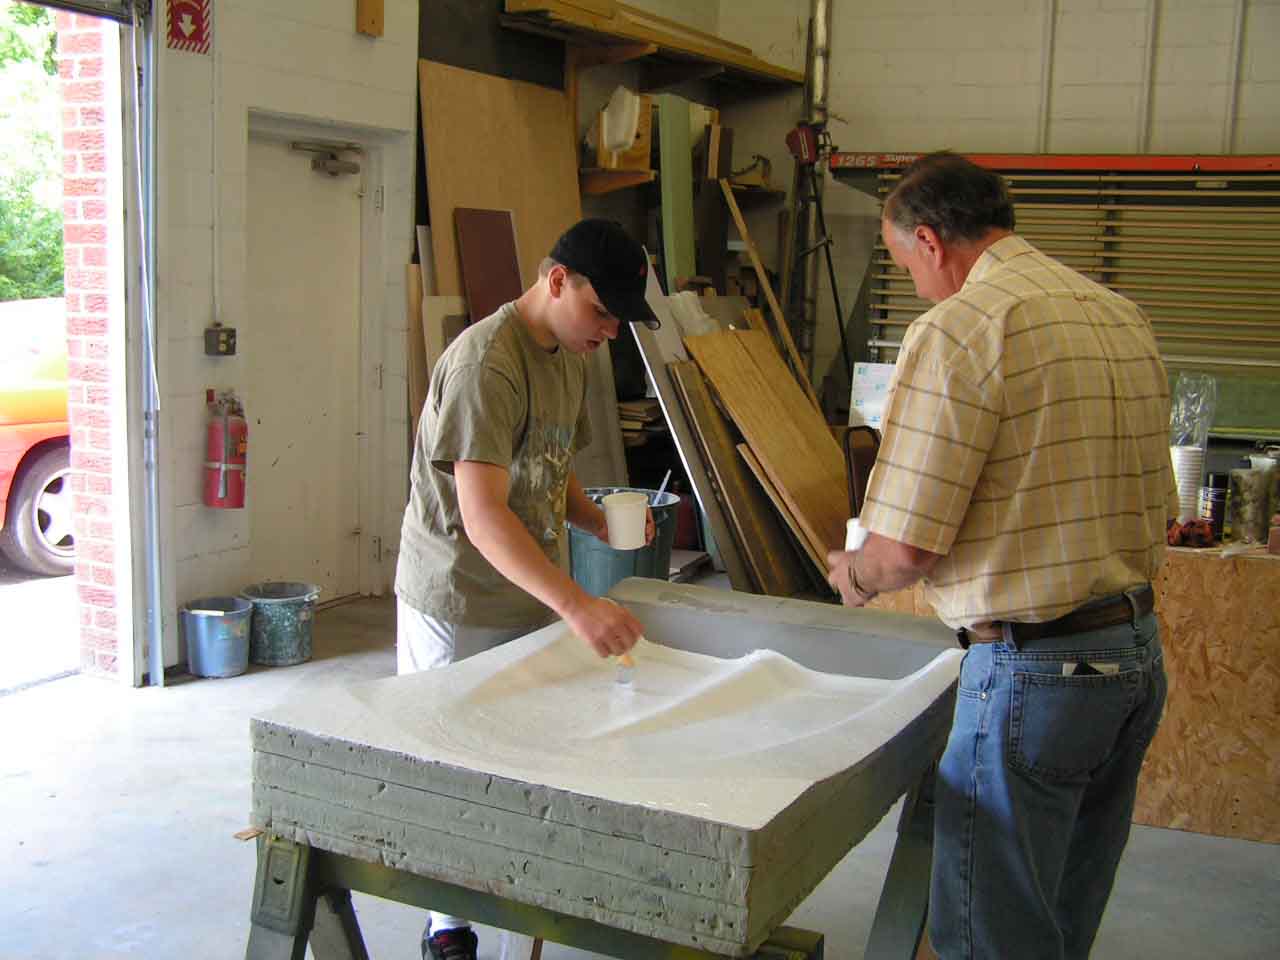
Finally ready to make our first part! First the mold was cleaned and sprayed with a release agent. Using brushes and a epoxy based surface coat Jesse and Steve are applying the first of two coats to the mold cavity.
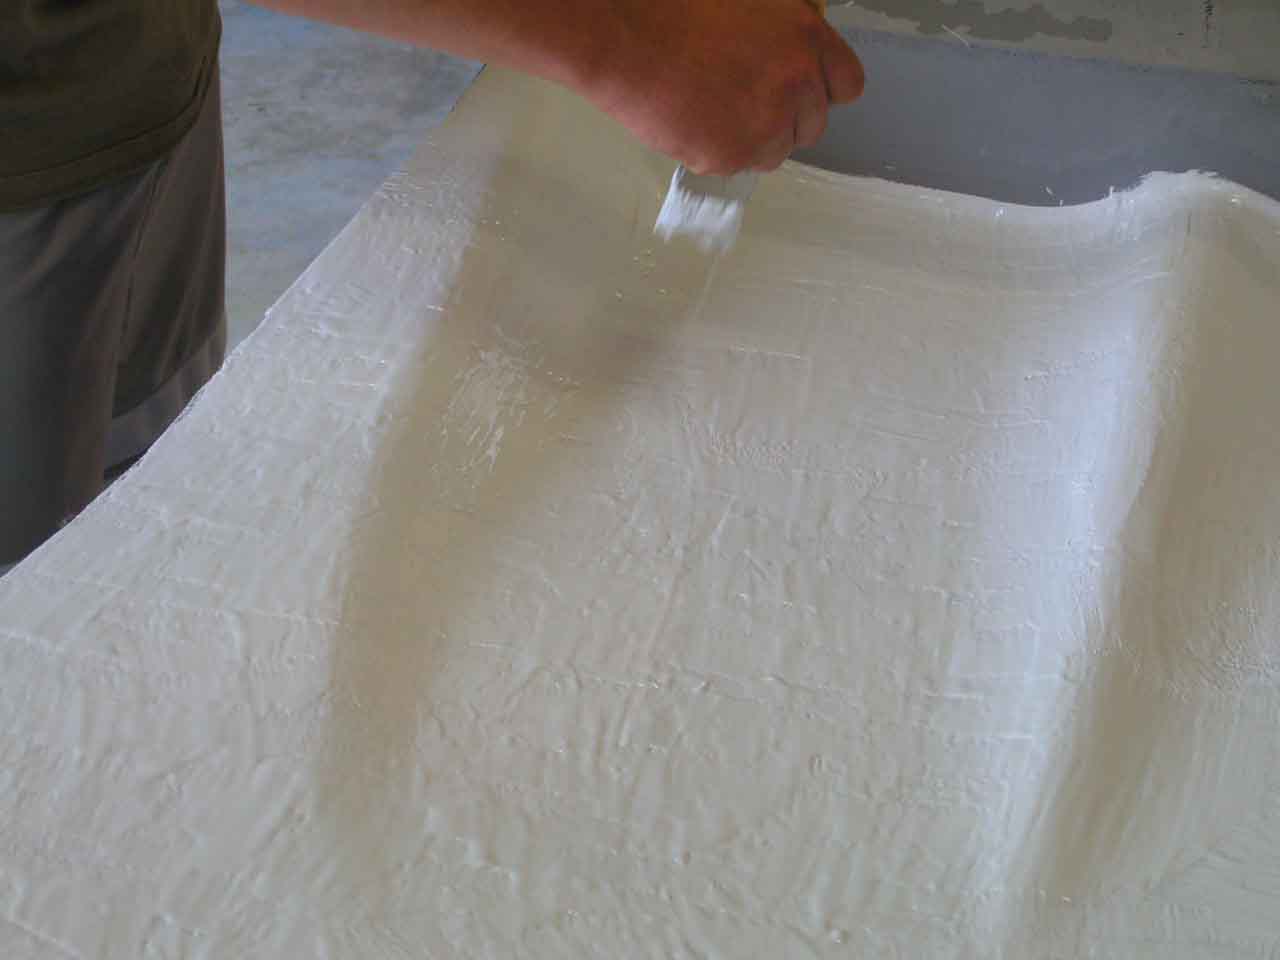
Here is a better view of the surface
coat. We waited about an hour for the first coat to get tacky before
applying the second coat.
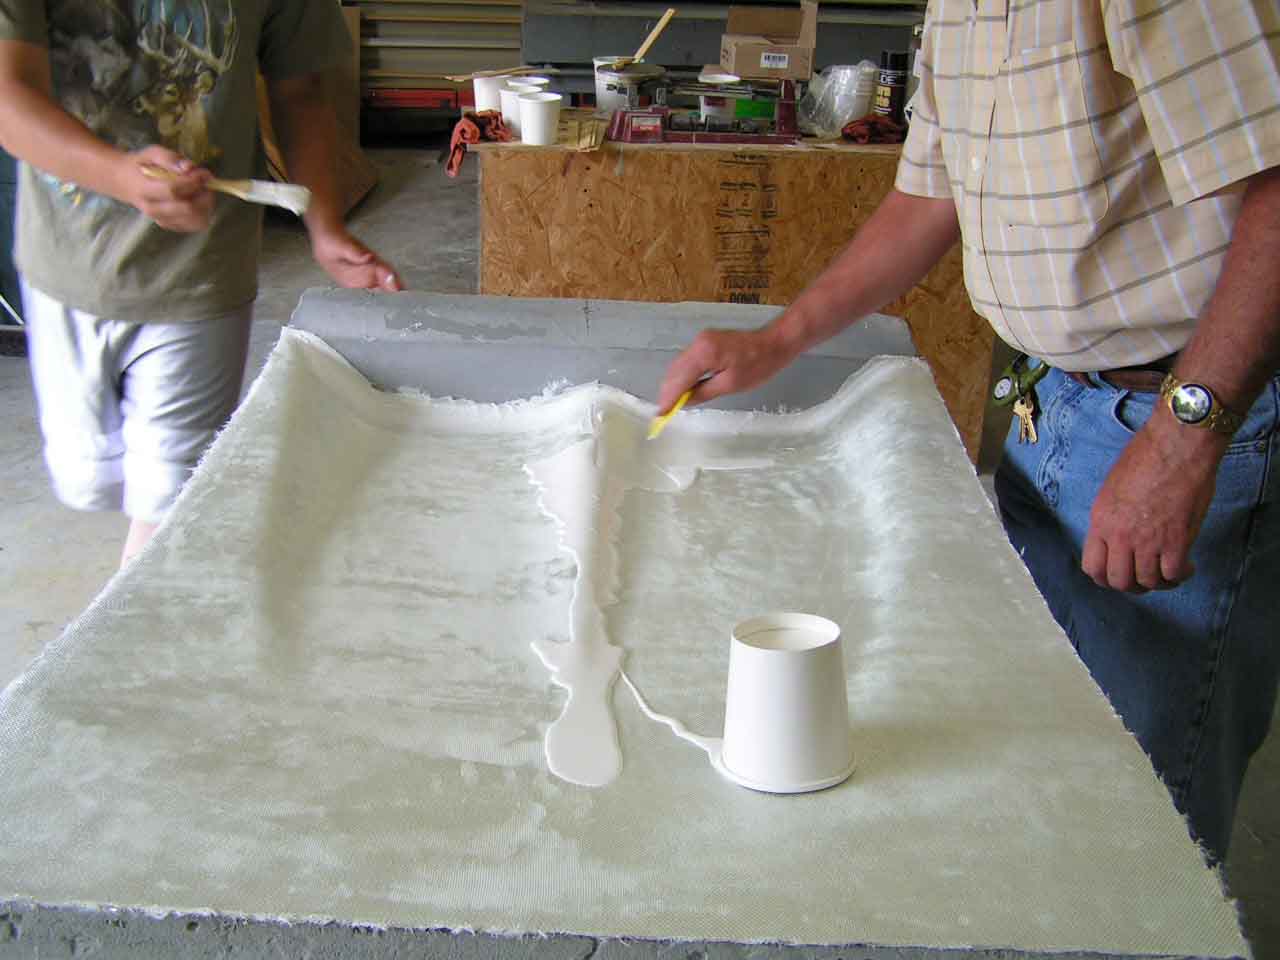
This is the first of eight, 9oz
fiberglass cloth sheets. The sheet is placed over the wet surface coat
and starting in center it is gently pulled and patted down to remove
all air pockets. Using a brush and plastic squeegee the cloth is then
saturated with the epoxy resin. This step is repeated for each sheet.
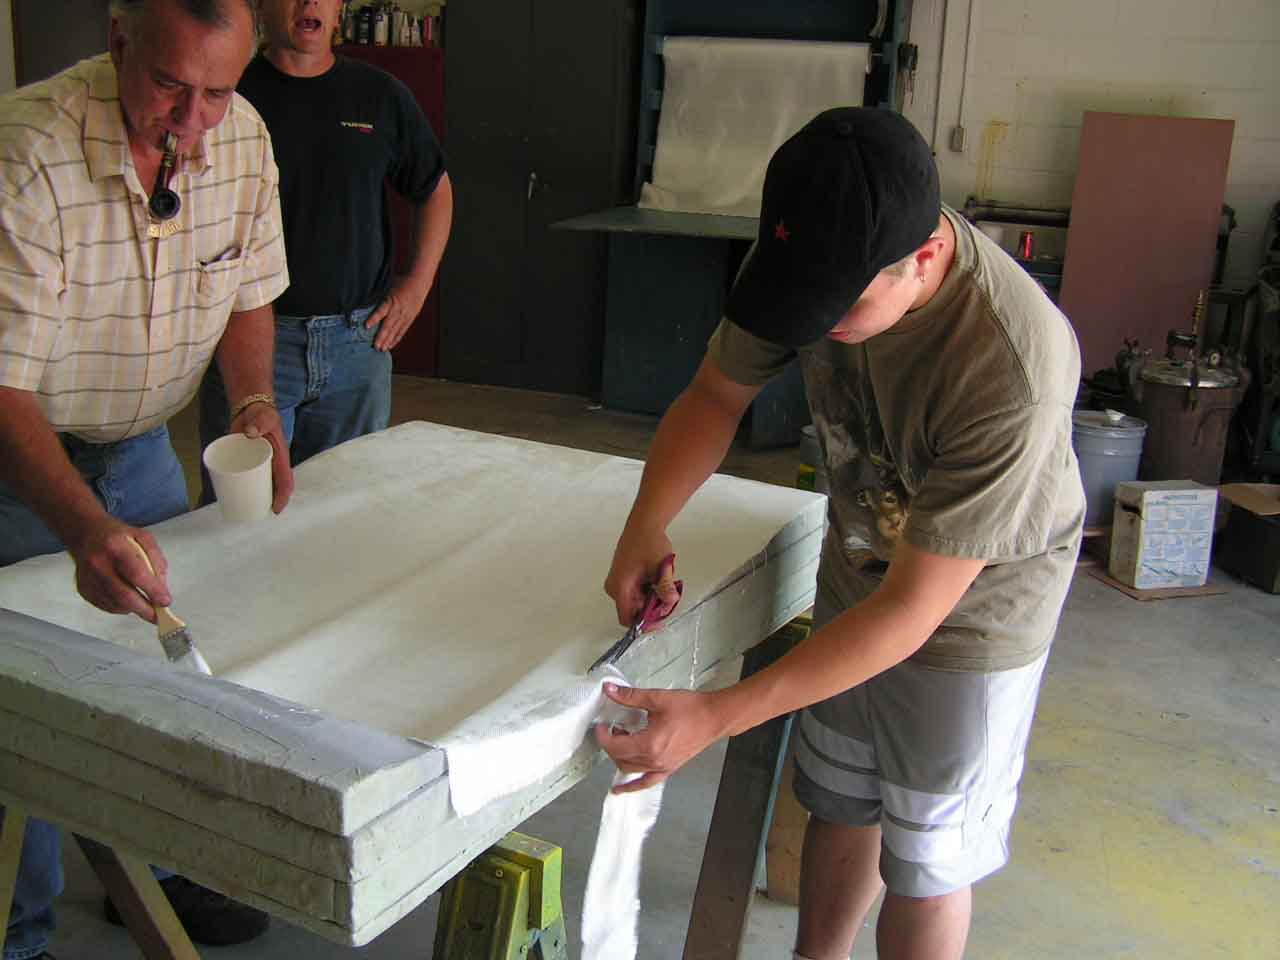
Jesse is trimming the excess material from the mold this another step that is repeated for all but last two layers.

All the sheets have been applied and will need to dry overnight. The extra material will be used to help pull the part from the mold. We applied resin to a few places on the outside edges to give us something strong to grab.
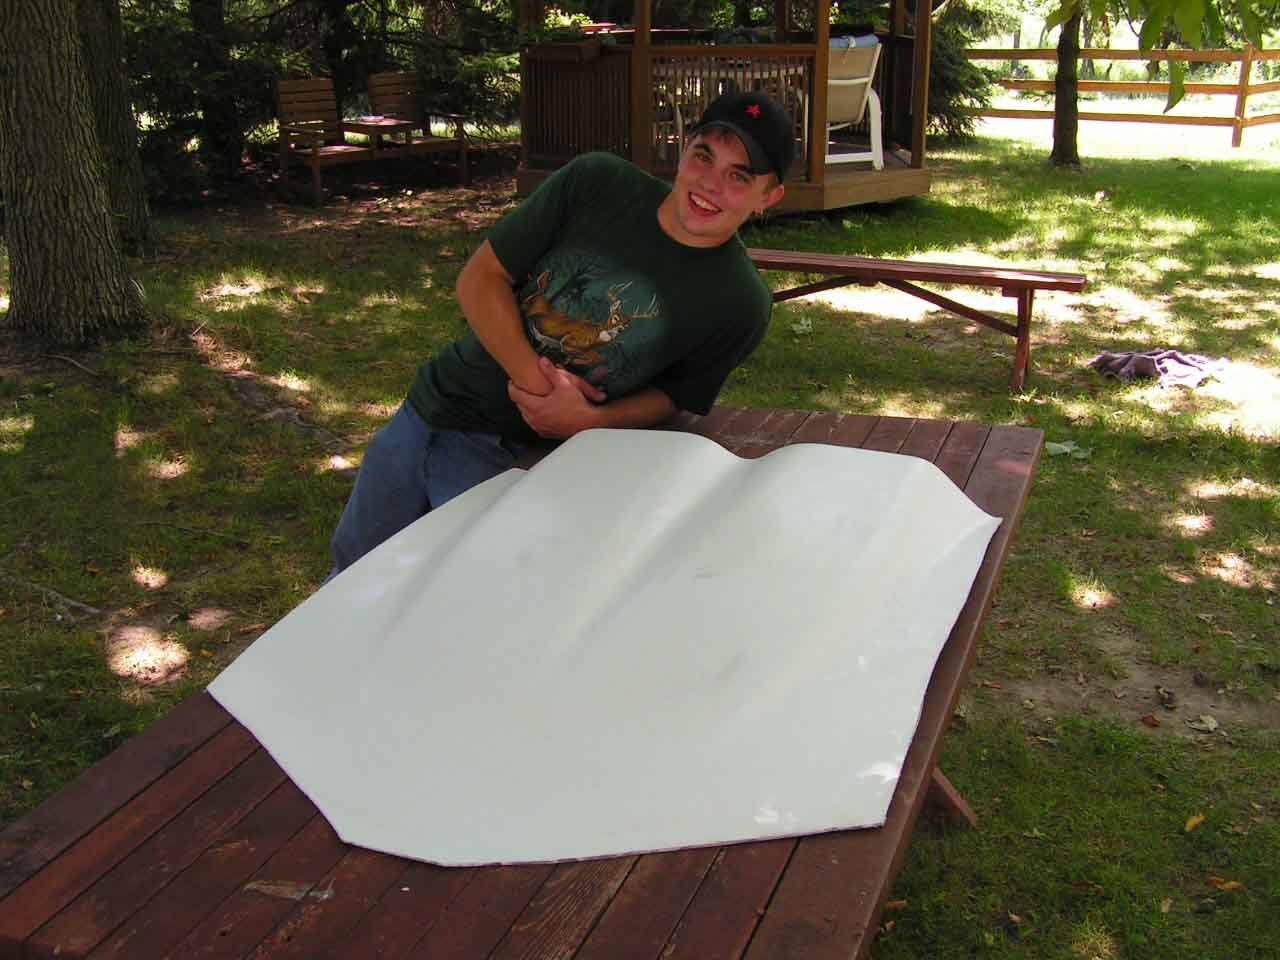
We pulled the part from the mold and trimmed the edges. Done! Well at least the scoop, we still have lots of work to do before the whole hood will be finished.

We were excited to see how well it would
fit so here it
is just lying on the hood. It's a perfect fit but we still need to trim
most of
the excess material away, bond and mold it to the hood.
<-Back
Hood
prep->
![]()
Jerry and Nita's
home page / Family Matters
/ Ferret Antics
/ Our
Critters
Gone Hunting
/ Home Theater
/ Talon Project
![]()
![]()
You can reach us at: ferretantics@earthlink.net
![]()
This page was created and maintained by
Jerry
at
Sensible Design Solutions