![]()
37 Ford Coupe
(last update 08/14/11)
My wife bought this car for me as a wedding gift 27 years ago and I have been collecting part ever since.
Thanks to alot of people especailly my cousins who built the engine when I finally got started on it.
Thanks to alot of people especailly my cousins who built the engine when I finally got started on it.
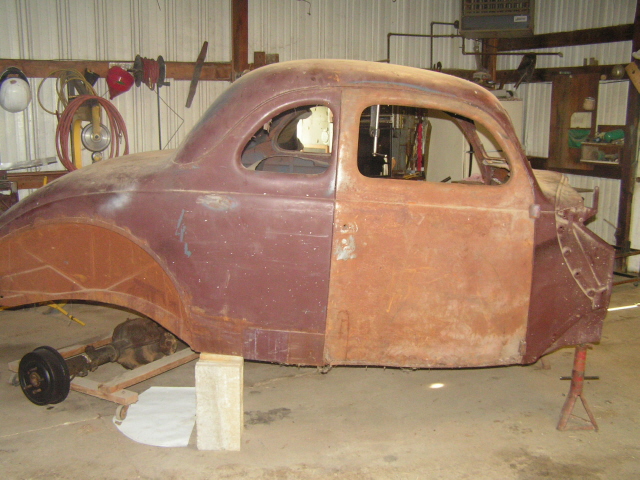
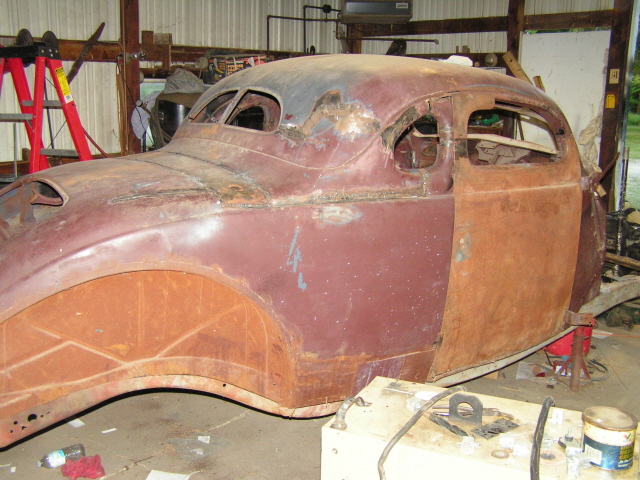
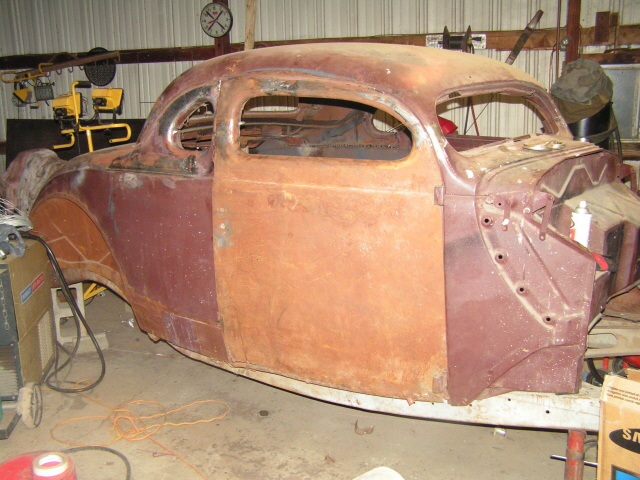
This was a whole car, everything but windows, interior, engine and transmission. I will start this page off with a before picture. Stripping all the stuff off the body wasn't that exciting. So here's where I will really kick off the project.
So here's the plan: Turn this car into a radical 50's style hot rod that will turn heads where ever it goes. Make it as period correct as I can while having modern day drivability and dependability.
So here's the plan: Turn this car into a radical 50's style hot rod that will turn heads where ever it goes. Make it as period correct as I can while having modern day drivability and dependability.
(Click on the picture to see additional pictures/hidden secrets)
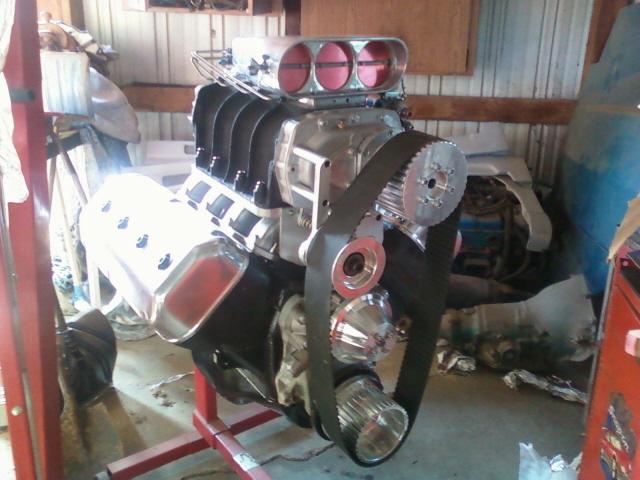
Say hello to my big friend! Is this radical enough? Here is my blown, fuel injected hemi. There is more here than meets the eye.
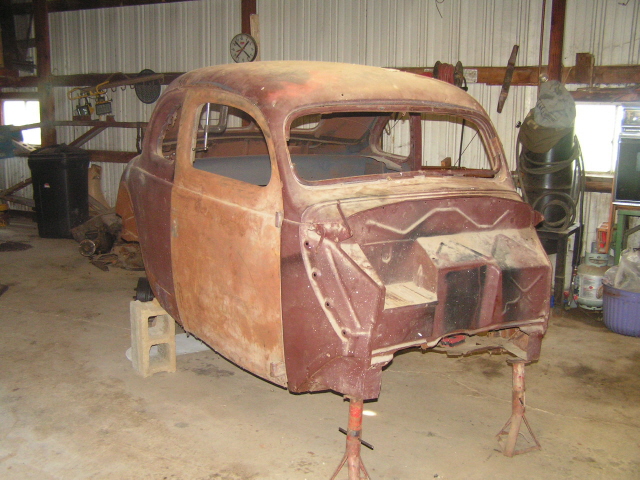
There is a lot of measuring, marking and verification. I used masking tape to define the areas I intend to cut.
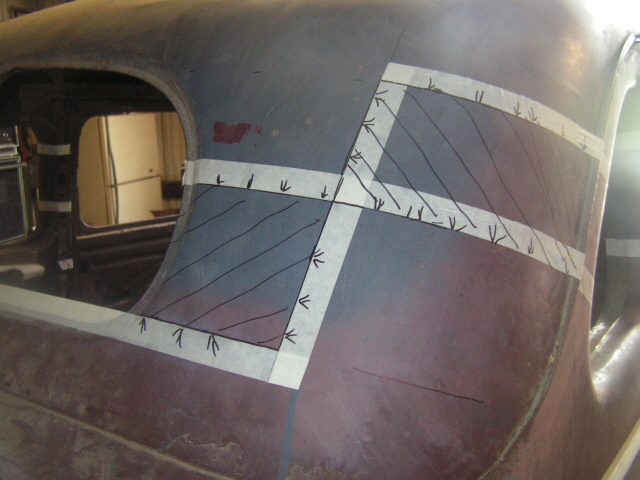
I had to change this area three times to make sure everything was going to line up. I tried to make sure that when the top came back together the rear window seal lip would line up in the corners.The "Z" shaped cut will help add strength to the areas I would be welding
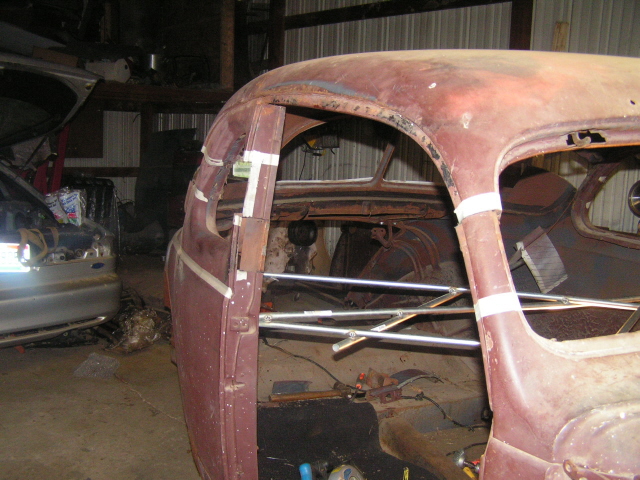
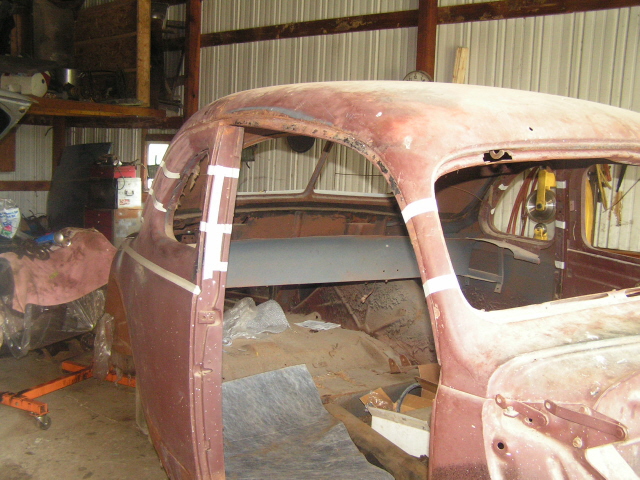
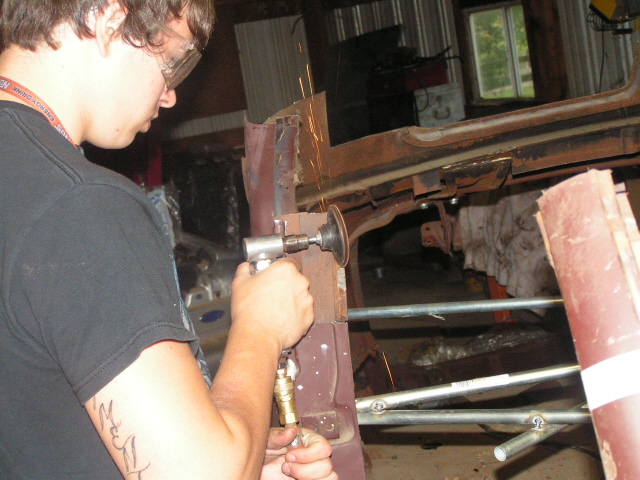
You can see here we have made the first set of cuts. It was important that I take several measurements between the "A" pillars to make sure the cut points lined up as close as possible.
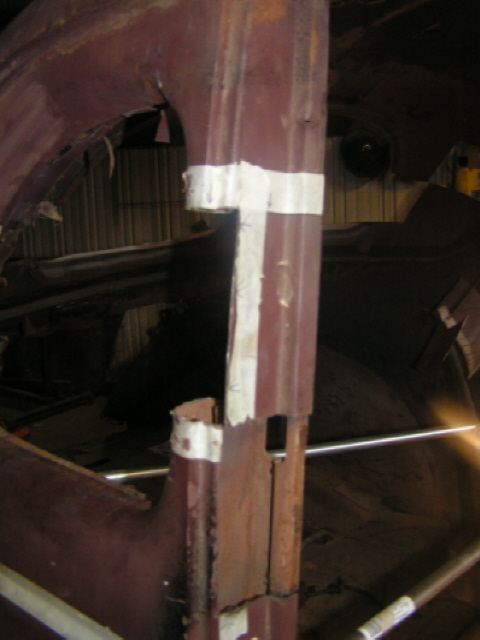
This is the door jam. As you can see I staggered the cut line and kept it close to the corner for added strength and it will be easier to hide.
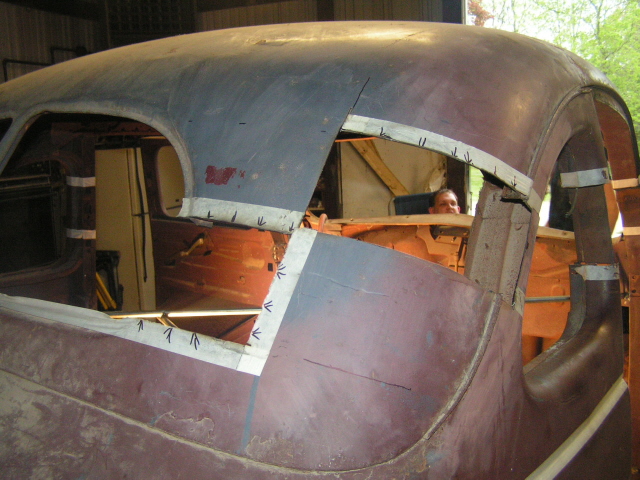
Only a couple more cuts to go and the top will be free. With the metal removed I think you can get a better idea on how it will go back together. Once the cuts are finished we will slide the top forward and match up the "A" pillars.
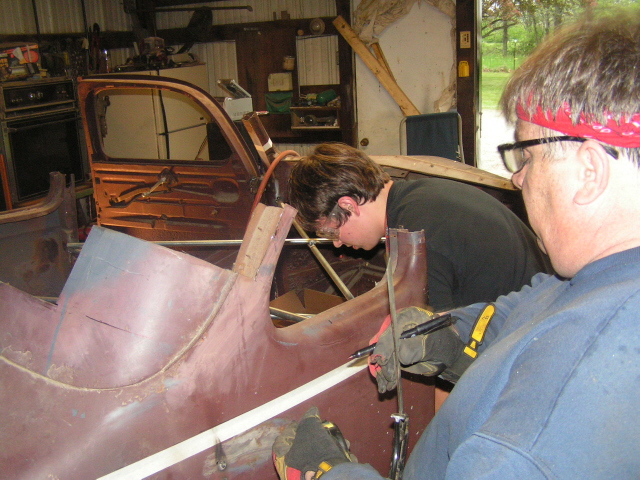
Corey and I are working on the final cut. I'm marking the bodyline where the top will slide forward. I will take a section out at the bottom of the windows at the point where I have the marker
The cutting was the fun and fast. Corey is helping me start on the slow and not so fun part.
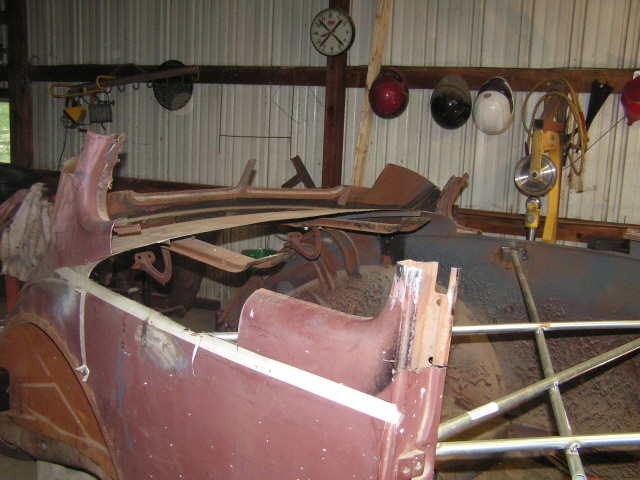
Well here it is all cut apart. The lower back section was slid back on to the trunk.
I guess I should apologize first. I was so excited to see it going back together so nicely I forgot to take pictures. To summarize, the top was moved down and forward to line up the "A" pillars. I did not have to cut or change the angle of the "A" pillars. The "B" pillar was split and when I moved the top forward the upper potion of the "B" pillar moved forward. I cut it just below the drip rail and moved it back and lined it up with the lower section. I moved the lower section cut below the rear window forward to line back up with the top which created about a 6" gap between the trunk and the rear window. I created a new panel to fill that gap.
Doors are now finished. Ready to start the leading process.
![]()
Jerry and Nita's
home page / Family Matters
/ Ferret Antics
/ Our
Critters
Gone Hunting
/ Talon Project
![]()
![]()
You can reach us at: Email
![]()
This page was created and maintained by Jerry at Sensible Design Solutions